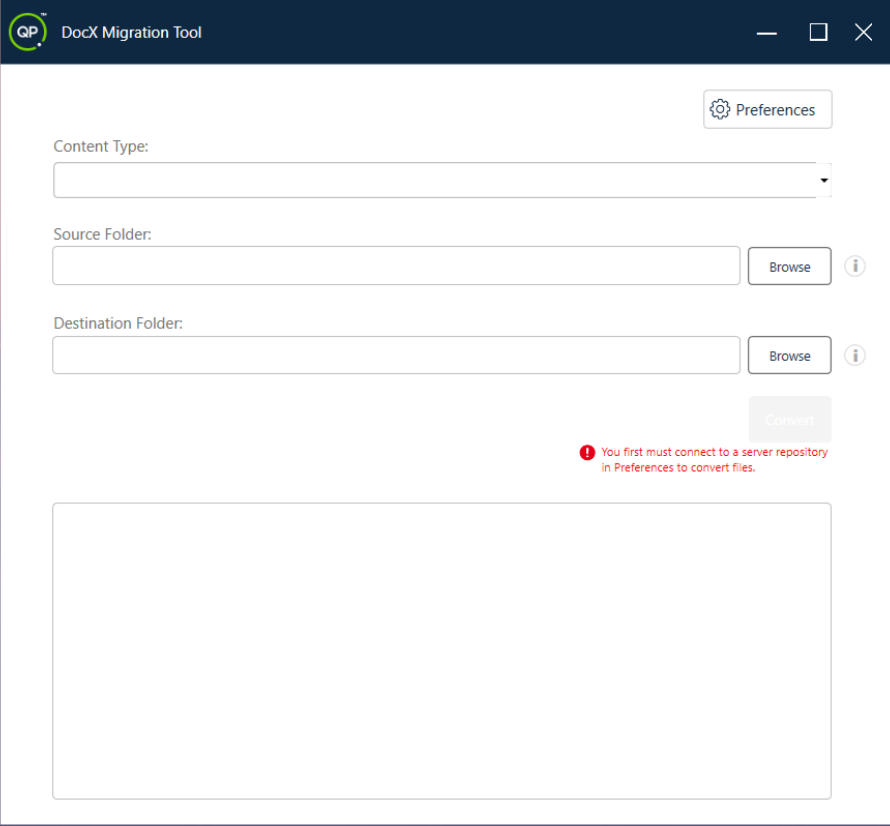
Summary: DOCX Converter tool simplifies the process of converting your legacy Microsoft Word documents (.docx or DOCX files) into XML documents (.xml files) in bulk, making the process several times faster and easier in comparison to copy-pasting the content from Microsoft Word to Quark Author and then formatting it manually.
NOTE: The DOCX Converter tool is meant for administrator use; therefore, only users with a QPP NextGen Admin license can use the application.
To set up the DOCX Converter, you must perform the following steps:
- Install and launch the DOCX Converter
- Sync the DOCX Converter with your QPP NextGen server repository dynamic configuration.
- Create a collection structure on the server repository to set up the path.
- Upload configuration files to the collections as per dynamic
Solution: The DOCX Converter installation process is as follows:
- Download the installer package and extract it.
- Double-click on the installer file and then follow the on-screen instructions to complete the installation.
- Once the installation is complete, the app launcher icon for DOCX Converter becomes available (in the Start menu on Windows and in Finder > Applications on Mac). Click on the app launcher to open DOCX Converter.
Sync DOCX Converter tool with a QPP NextGen server repository.
To be able to begin the conversion process, you must sync a QPP NextGen server with the DOCX Converter tool through the following process:
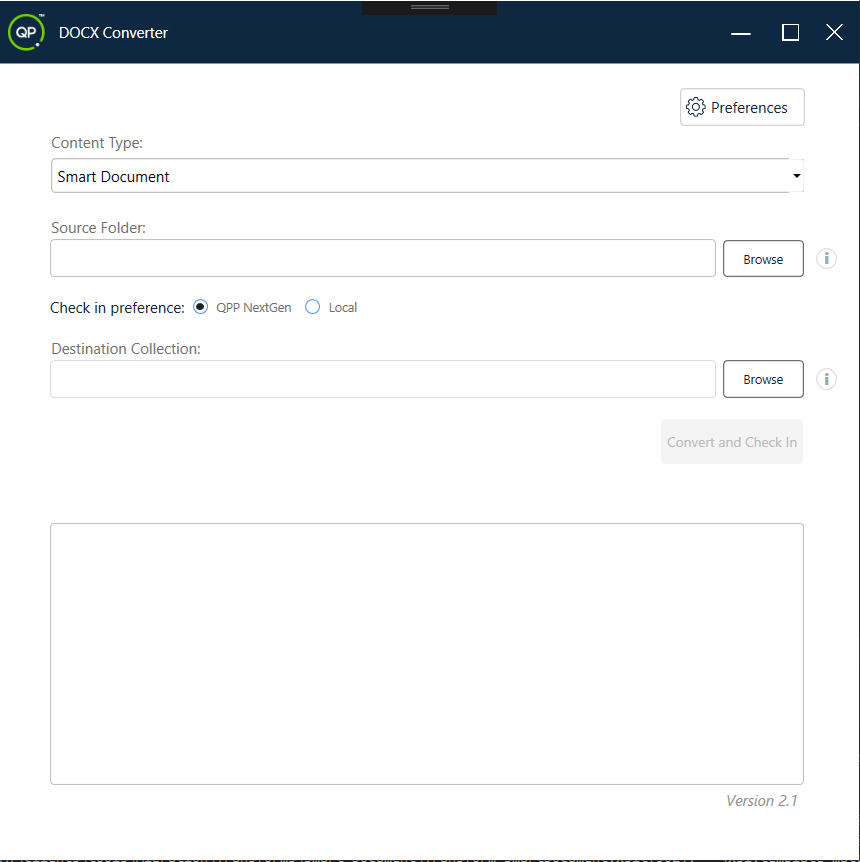
- In the DOCX Converter tool window, select the button Preferences to open the Preferences window. In the Preferences window, go to the tab Connection Settings.
- In the Preferences window, go to the tab Connection Settings.
[image not available: 0EM5G00000E6lSU]
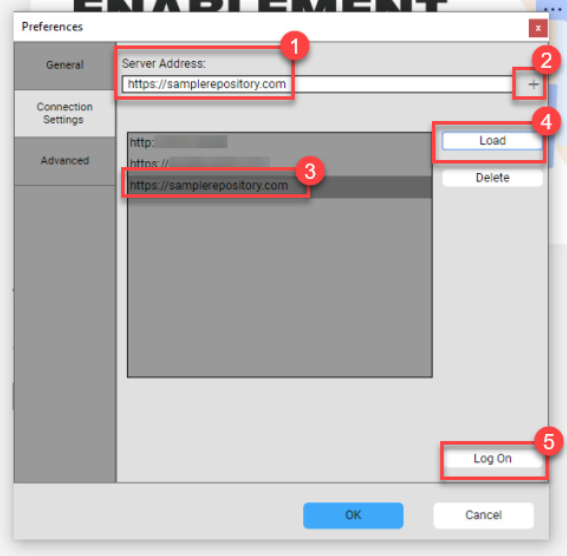
- The Connection Settings tab: 1Enter the URL of the QPP NextGen server/repository you want to connect to.
2. Select the sign “+” to add the URL to the list of saved repositories.
3. Select the URL of the repository you just added.
4. Select Load. Select Log On to open the Log On window of the repository.
In the Log On window, enter a valid set of administrator credentials of your QPP NextGen server and then select the button Login.
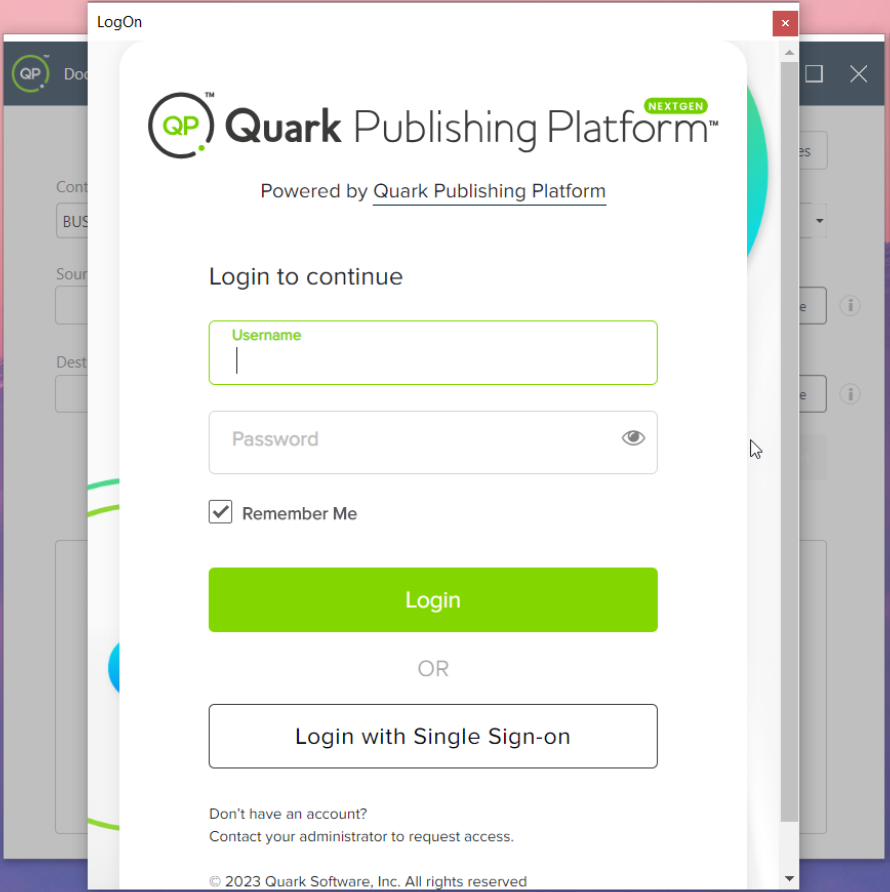
The Log On window disappears once you are logged in. And if your credentials are not valid or have expired, the Log On window displays an error message accordingly.
Select the button OK in the Preferences window
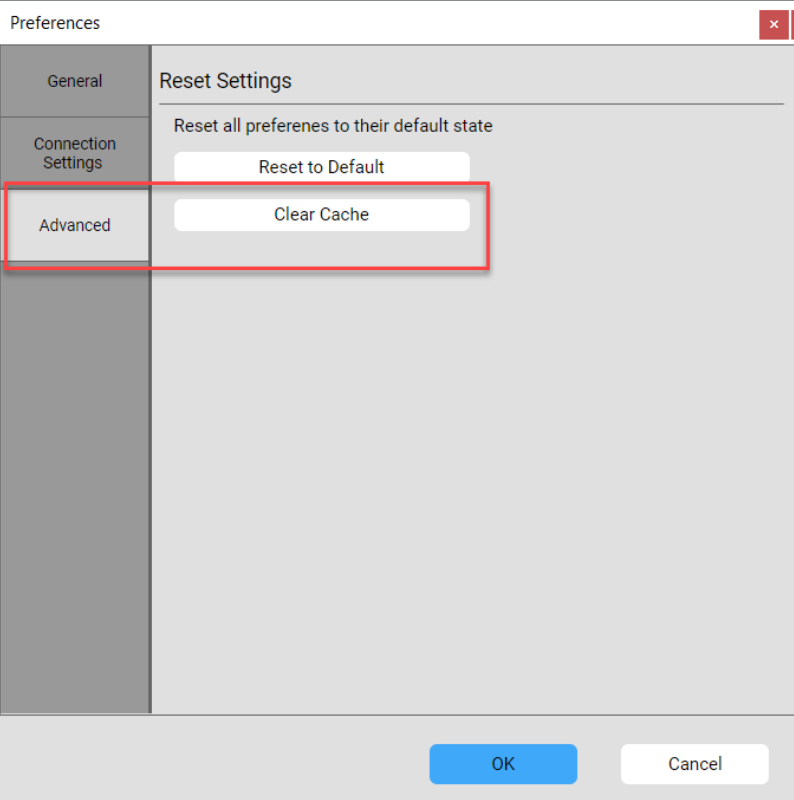
The Preferences window contains two more tabs General and Advanced, which are non-functional and out-of-the-scope for this user guide except for the option to clear browser cache which is available under the Advanced tab
Try to login and you are all set with the migration tool.
Priyanka Bhotika
Comments