Product: Quark Publishing Platform (QPP) NextGen, QuarkXPress
You can manage a publishing template in Smart Content Designer at the following four levels:
-
Element
-
Region
-
Page
-
Document
Element Level
At the element level, you first must define (when creating a template from scratch) or capture (when using a reference template) the style of an element to be able to manage it.
Primarily, you should define or capture the following three styles to cover the most important aspects of an element:
-
Paragraph: The styles related to the alignment, spacing, indent, columns flow, and so on of a paragraph or text box.
-
Character: The styles related to the font, size, color, shade, opacity, and so on of the characters in a paragraph or heading.
-
Item: The styles related to the dimensions and borders of an element (primarily for images, boxes, and regions but also used for text boxes/paragraphs).
Additionally, there are some element-specific styles that you can define or capture if your document contains one of the following elements:
-
Table
-
Footnote
-
Callout
-
Grid
You can define, capture, or modify these styles in their respective palettes, which are as follows:
|
Style |
Palette Name |
|
Paragraph |
Style Sheets |
|
Character |
|
|
Item |
Item Styles |
|
Table |
Table Styles |
|
Footnote |
Footnote Styles |
|
Callout |
Callout Styles |
|
Grid |
Grid Styles |
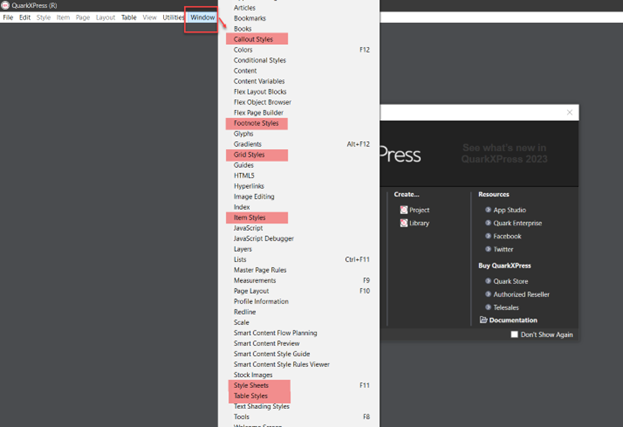
You can invoke all these palettes through the header ribbon tab Window of QuarkXPress.
For example, if you want to change the color of the text in a text box (whether designed or imported), perform the following steps:
-
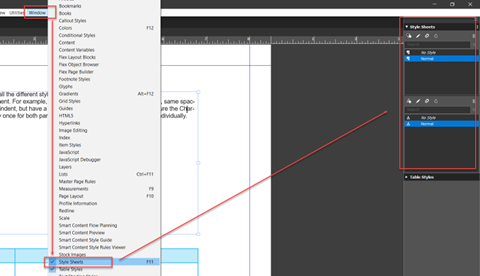
In QuarkXPress, select Windows > Styles to open the palette Style Sheets in which you can define the character style.
-
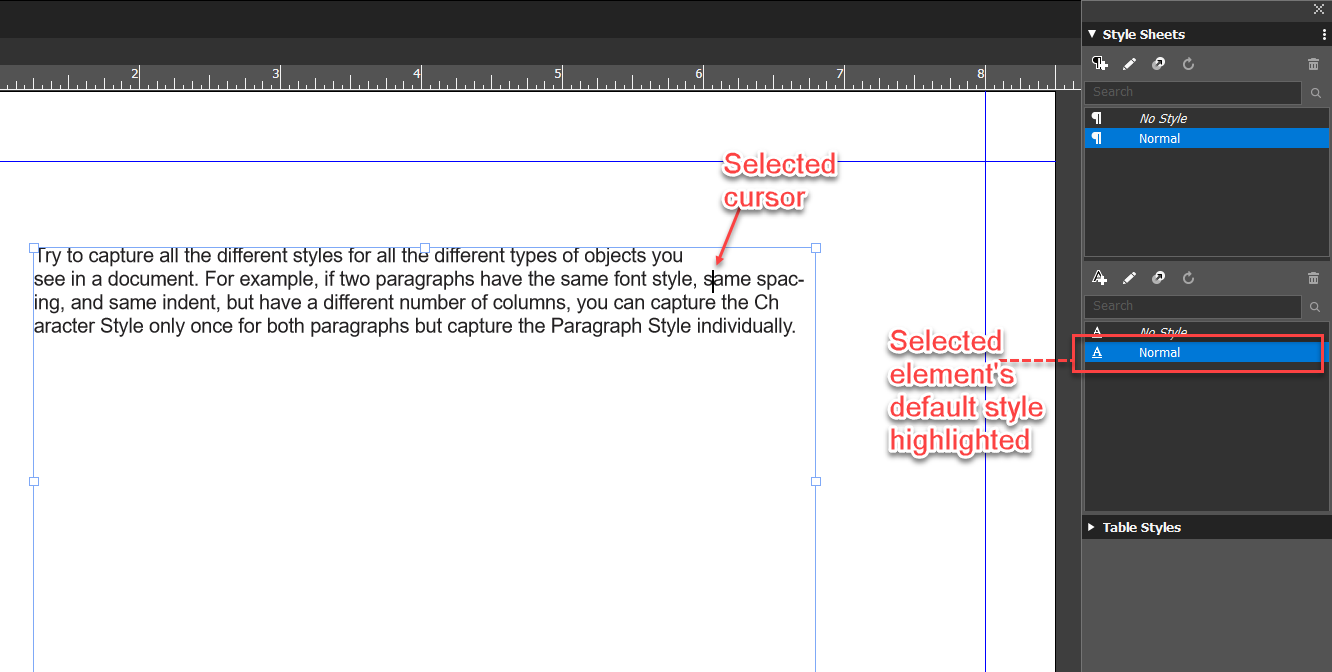
In your QuarkXPress project, select the text box for which you want to font color to highlight its style in the palette Style Sheets.
-
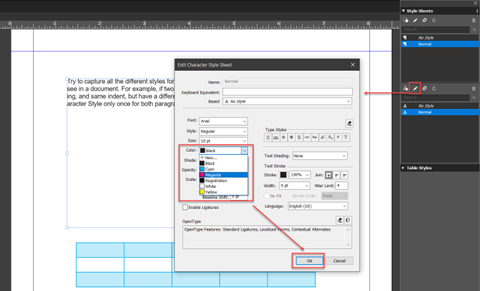
In the palette Style Sheets, select the edit icon
to open the Edit Character Style Sheet dialog.
-
In the Edit Character Style Sheet dialog, select the color you want to apply to the font in the dropdown field Color and then select button OK.
You can also create new styles and then apply a created style to another similar element.
Region Level
At the region level, you can manage where in a template (or master page) a specific section of your document or an element within a section should appear.
You can manage this through the palette Smart Content Style Guide by tagging the sections of the bound content model to the container boxes of your master page.
To tag boxes of a master page with the sections of the bounded content model:
-
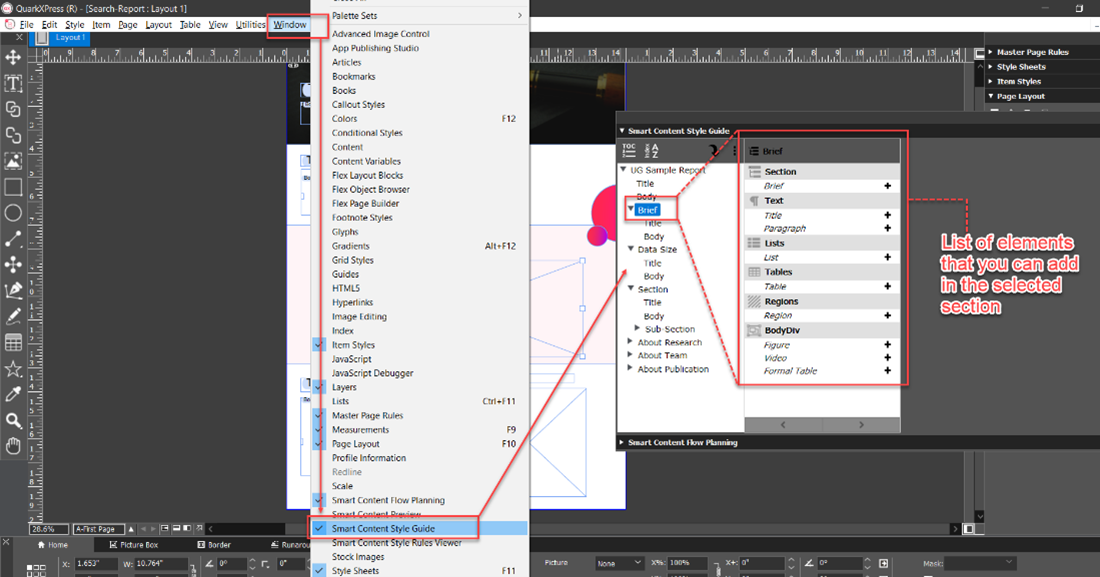
From the header ribbon bar, select Windows > Smart Content Style Guide to open the Smart Content Style Guide palette.
-
From the first pane of the Smart Content Style Guide palette, drag and drop the section elements (title and body) to the boxes/placeholders on the master page.

-
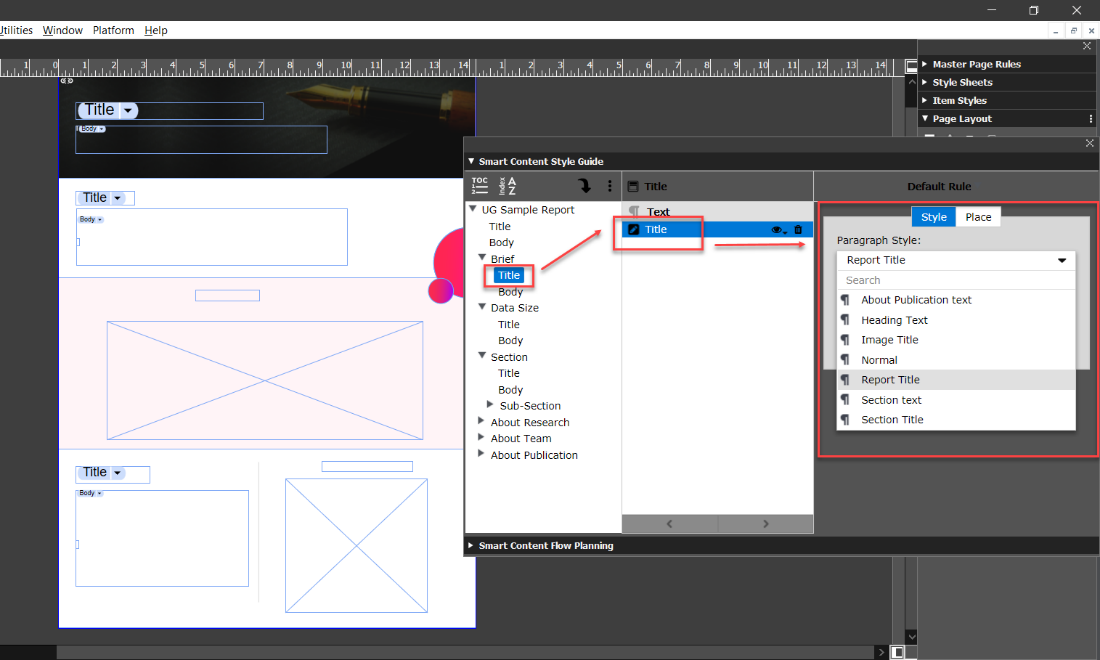
Select an element (you have tagged a box with) in the second pane, and then select the icon + against the element to enable the third pane (Default Rule).
-
In the pane Default Rule, select the styles you want to apply to the selected element.
Page Level
At the page level, you create master pages based on the intended layout of the different pages in your document. For more information, see the section How to Create a Master Page.
Document Level
At the document level, you can manage the master page rules and pagination rules for different pages and sections in your document. For information see the sections Master Page Rules and Pagination Rules.
Priyanka Bhotika
Comments